THE DISCLAIMER:
First, let me just say that though I'm BASICALLY done with my bathroom project, there'll still be some tweaking for some time to come. So if you see something not quite right, I'll get to it -- eventually.
Also, I'll probably be changing out the decore at some point too. But since this is a guest bath (and we never have any guests) I thought I'd try something a little fun.
One last thing, taking photos in this small space was very difficult, I hope you can envision things properly.

THE RECAP:
My husband and I bought our house about 12 years ago -- for $100! That's because just the house was for sale, we had to move it. So we moved it, worked on it, moved the family in, worked on it some more, took a pause to catch our breath (even though we weren't done), and never seemed to get back on track.

So for many years, the space looked like this! Actually, that's not true. This is a cleaned up version once I had started my project. The space was unfinished but the studded walls were there, and I did have a washer and dryer and some storage in the laundry area.
Then, a couple months ago, I got motivated to "Get 'er done!" So....

I did some wiring.

And I did some plumbing.

And I did some drywalling. (don't let your vehicle become a stumbling block -- if you cut your pieces in the parking lot they'll fit easily into any min-van!)

And I laid down new flooring. The space had flooring already but I didn't like it. So to not spend a lot and to keep the theme of vintage simplicity, I had a sheet of plywood cut into strips (at Lowe's, so kind), stained, whitewashed, sanded, nailed it down. It might not last forever, but for $12 -- who cares! And so far -- I LOVE IT!
Of course, I also painted, trimmed, installed, blah, blah, blah. But let's get to the good stuff!
THE REVEAL:

This is the right-hand side of the laundry area as you enter the space. Just enough room for some storage and a stacked (even if it's home grown) washer and dryer.

Or from the other direction, viewing it from the bathroom doorway. I made some shelves, including a space to store my upright vacuum.

Above is more shelving.

I was able to attach this rusy, chippy hinge to the wall between the washer and storage areas. When I need to hang dry something, I simply lower the hinge and insert hanger into hole.

Other side of laundry area. Behind the opened door is more shelves for utility storage (light bulbs, gift wrap stuff, gardening stuff, etc.). And on the wall is a little taste of what's to come. "Ready for my closeup!"....

This framed instruction sheet was from the bundle that inspired my bathroom project.

I bought this cool piece earlier this year for a mere $10. I love it!

A 7' tower to house a stretcher in case of a mishap at a factory. The stretcher was still there, too, along with some signs.

So, as you look into the doorway of the bathroom area (it's on a 45 degree angle), you can see the signs.

And I placed the tower in the corner and added a hook to serve as a towel holder.

Cool!

And even higher up I placed the stretcher. Not only is it cool, but now I can store things in the tower.

I placed the stretcher really high to help with head room. The space is really tight, and the stretcher is quite big -- it used up every inch of that back wall!

Now that you've got the theme, let's resume the tour! The bathroom area has a doorway, but no door. It is set on angle, so you can turn to the right or you can turn to the left. This is the right!
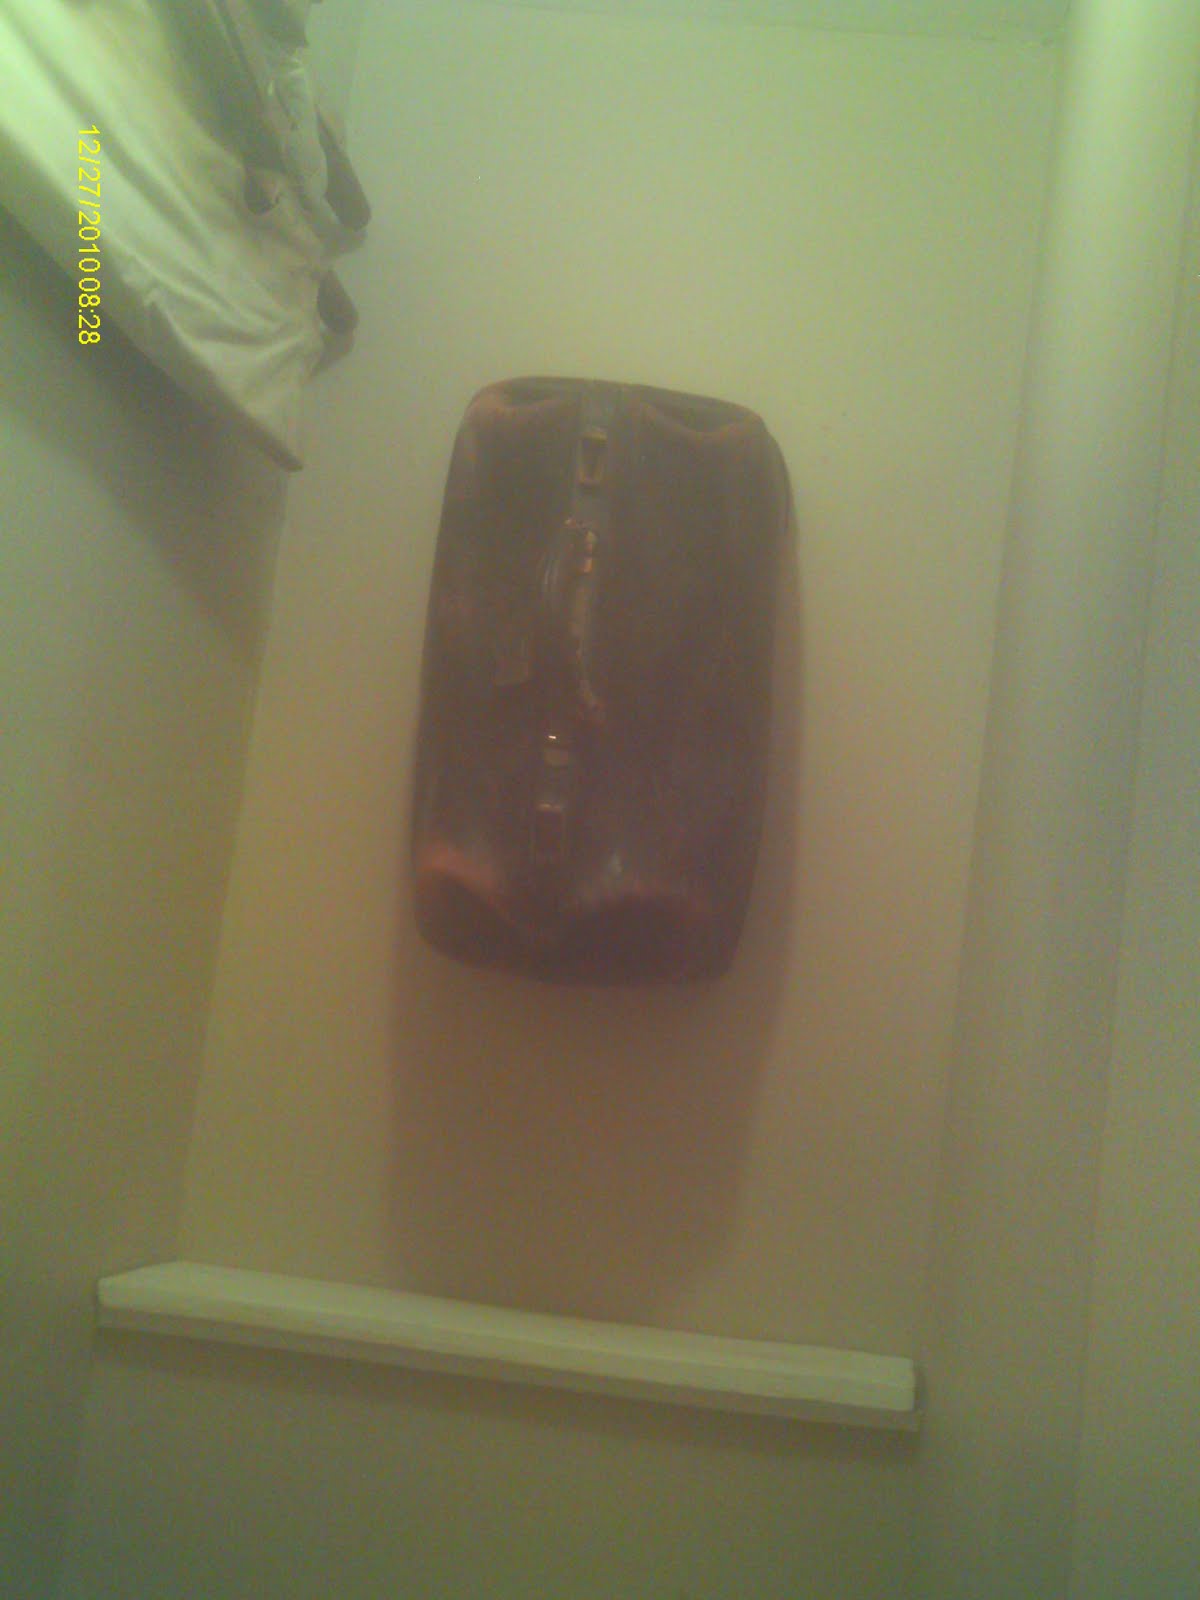
The shelf is removable because it tops the bump out area that houses some of my laundry hoses. I'll probably accessorize it later, but for now I enjoy looking at the antique doctor bag mounted on the wall above.

It's not just cool looking....it's functional!!

Moving to the left side of the doorway, I bought this vintage sink at auction for $5 several months ago. This is probably what spurred me to finally finish this space. I was able to find the vintage faucets at a salvage yard for another $5. I might tire of the old fixtures in a couple years, but for now it's fun.

Came across this vintage medicine chest in one of my junk piles and placed it above the sink. It seems to work.
So, like I said, I do have a bit of tweaking and decorating to do yet, but for the most part I'd call it FINISHED!!
Probably the only room that IS all the way finished, but I'm not going to stop now. It kind of motivated me to keep going. Generally, I'm much better at starting than finishing. Proabably true for a lot of people. I'll work on staying focused. And more importantly is staying focused on what's really important:
"I have fought the good fight, I have finished the race, I have kept the faith." ~~ 2 Timothy 4:7
THAT'S the kind of finishing I hope one day to be remembered for.
Peace.
Midge
I'm linking this up to Donna's Saturday Nite Special Party #93 at Funky Junk Interiorsfunkyjunkinteriors.blogspot.com