Not just repurposing, but BEING repurposed......" if anyone is in Christ, he is a new creation: the old has gone, the new has come." ~~ 2 Corinthians 5:17


Tuesday, July 26, 2011

A Sneak Peek!

I'm getting very close to being able to reveal my new
 "World's Smallest Bathroom"!...YAY!

But in the meantime, I thought I'd give you a sneak peek by showing you part of my laundry room --
I had to work on that, too, since you have to pass through it first!  


Who doesn't love a rusty little piece of hardware??  :)


So I attached an old hinge to the wall in the upright position.
This wall separates the washer/dryer from some built-in storage.  
(Wall space is limited, so I had to use every area I could!) 

Before screwing into the wall, I backed it with washers to give it a truer angle because it's not just cool looking....


it's functional!


A great way to have a spot for hanging a shirt or two to dry in a laundry that doesn't have room for extras!

Midge

Wednesday, July 13, 2011

World's Smallest Bathroom: Plumbing -- Cold's on the Right!

My husband likes to quote a plumber who once told him:
 "Plumbing's easy.  All you need to know is *waste (edited by me!) flows downhill, and cold's on the right." 

Well, it isn't quite THAT easy, but it is easier than you'd think.
And water supply lines are much easier than drain lines!

The pipes easiest for the DIYer is this CPVC available at Lowes, Home Depot etc. 
Most of the branches up to fixtures use 1/2" pipe like this one, while 3/4' is sometimes used closer to the water source or to accommodate greater water supply needs.
The great thing about this pipe -- it's much more flexible and requires less precision.


And it's much easier to cut (and more fun).
That doo-hickey is a pipe cutter -- just tighten where you want, and spin it around!


Connecting the pipes together is also much easier --
no worrying about sloping and angles.
 Water under pressure means it will push forward no matter if you go up, down, or round and round!  Choose whatever path you want to go from point A to point B.
You'll find you'll use mostly couplers, elbows, and tees.


But at the store you'll find a variety to suit your project -- and not very expensive!


The adhering together is the same as with the drain line --
first apply purple to surfaces being connected, then apply glue, then push and twist together to get a good fit.


Here's my bathroom project.
Because we had changed our design years before, the laundry pipes were in the bathroom area.


Since that's where my toilet's going, I had a built-in source of water -- literally!
I cut a small hole in the drywall to expose the cold water line (don't worry about the wall, I've got a plan).


Then, and this is very important, I SHUT OFF THE MAIN WATER VALVE!
Then I proceeded to cut the pipe using a very small version of a pipe cutter.  

Or you could use this type pipe cutter, you pinch it like a pliers.
Also, I had first placed a rag around the pipe.
Even though the water is no longer under pressure, it will be IN the pipes and will spill out a bit.


So my pipe is cut.
Hey!  Where'd my bottom go?.....
Actually it fell into the basement
(see what I mean, supply lines are much more free to do their own thing!). 


While I gave it a little push up from below, my husband duct taped it in place to keep it from misbehaving.
NOTE TO SELF:  Next time, duct tape FIRST.  Then it won't even fall through.
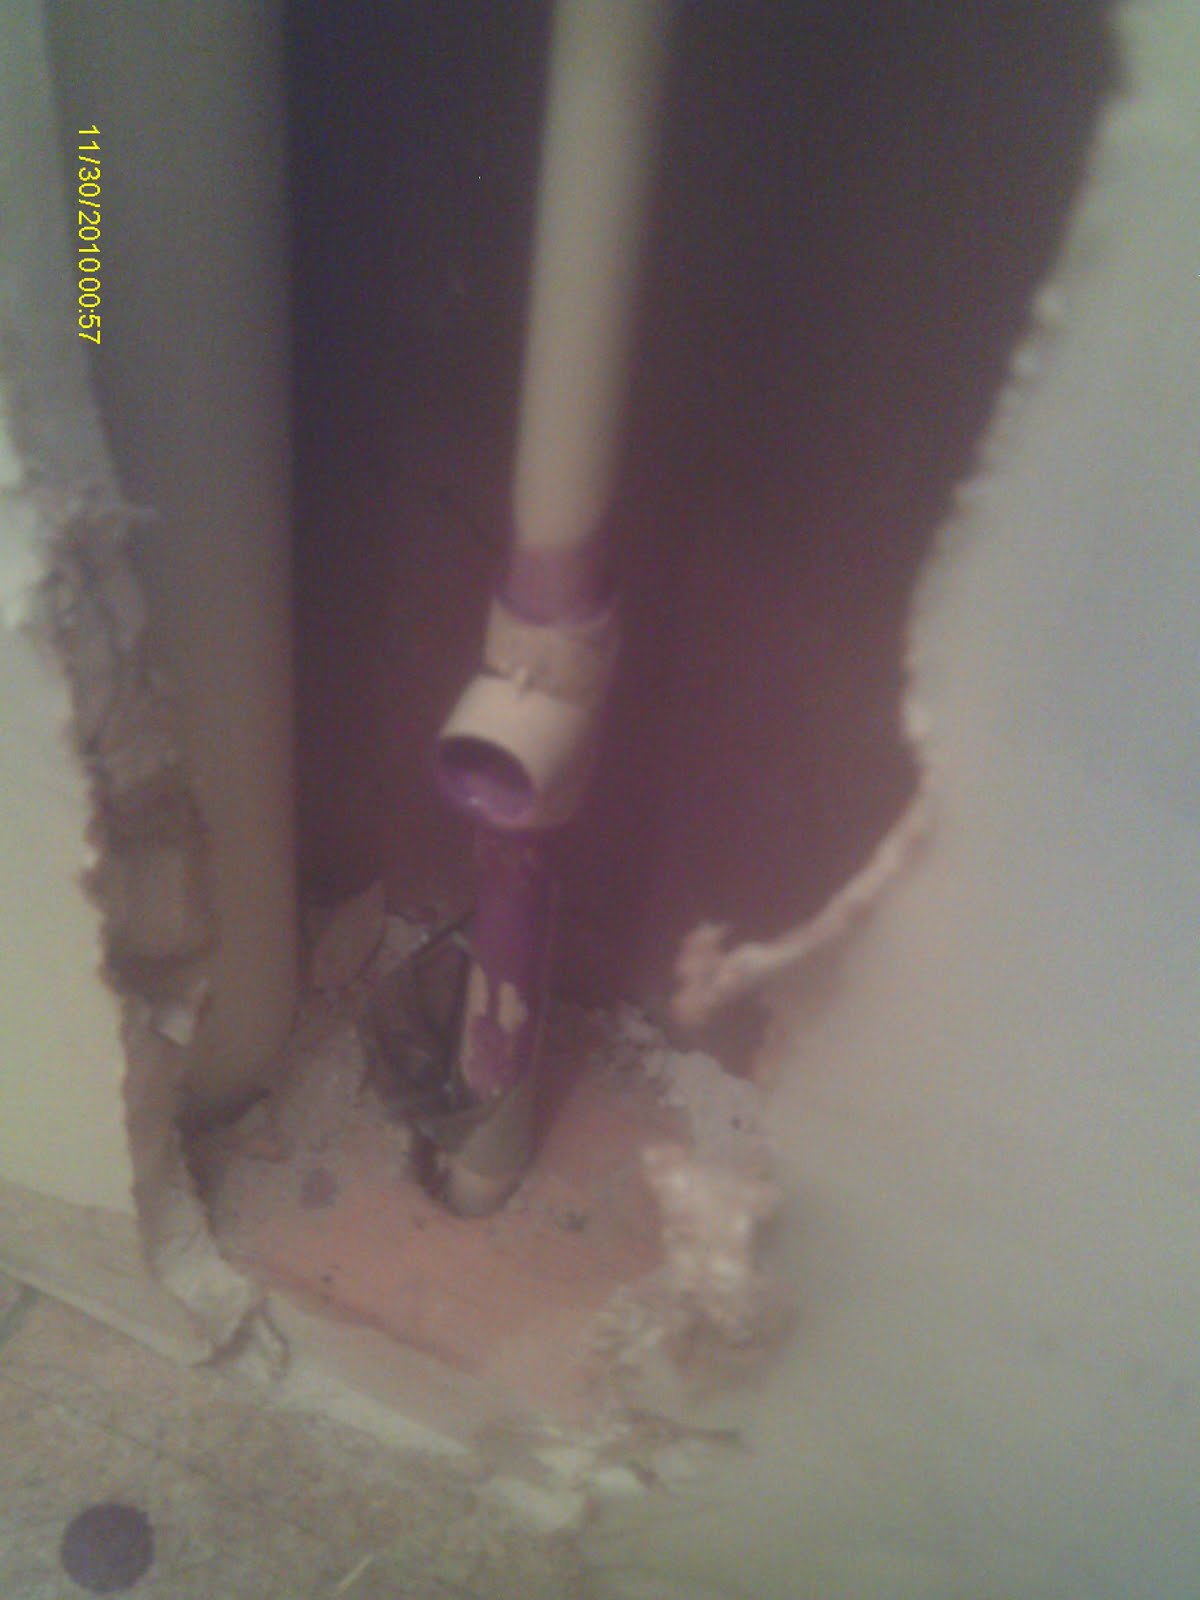
Then I just inserted a tee between the two cut ends.
(Whoa.  Looks like someone got a little crazy with the purple stuff.)

Glued a section of pipe into the tee.


And because I wasn't ready to add the valve yet, I added a cap to the open end. 
I gave it 30 minutes to dry and turned water back on.
YAY!  No evidence of leakage!


For my sink lines I started in the basement at the closest water source.
Okay, you might have busted me -- I didn't cut into these lines yet.
But they're ready to go, and I will -- eventually.  For now I just need my supply lines placed. 


So I just went over, turned with "elbows", and then, again using elbows, went up through the floor.


In the bathroom I used a special elbow that came with "wings".
That allowed me to attach to wall for a more secure fit.


Because the water was not "live" in these pipes, there was no rush to finish up.
So later, after putting up my drywall, I decided to add the valve.  
I needed the plastic adapter, the metal valve, teflon tape, and pliers.

Because the plastic goes into metal, you must first wrap the threaded section with teflon tape. 
This provides a kind of buffer between the two. 
Then you can screw the two pieces together.  Tighten with pliers for a good seal. 


Now you can get out the purple and glue again and attach to the pipe.
I even remembered to first slip on the round metal wall flange for a nice finished look.
(Of course there are ones that can go on after -- still)

And that's about it! 
Much easier than drain lines!

Don't be afraid to give it a try.
Just remember -- always shut off water before cutting a line, check for leaks before closing in a wall, and .... oh yeah....Cold's on the Right! 

Midge

Saturday, July 9, 2011

Reflecting on some past projects!

I'm so happy to be making progress on my tiny bathroom, but in the meantime I haven't been getting many junking projects done.  SO....

to join in Funky Junk Donna's Linky Party, this post features some of my past mirror projects!  So if it seems like you've seen some of these before...you probably have!  


One of my all time favorites --
an old iron wheel thingy I got for $1 at an auction! 
Perfect frame for a mirror!
It's since been sold. Think there's any chance I'll find another? 


Industrial mirror made from the base of an old wind turbine.
I just love the industrial look!

Game. Set. Match! 
Old tennis presses make great mirror frames! 
They're easy to do, and you don't need expert glass cutting skills!


Another $1 auction find! 
Sure this old architectural piece is a bit beat up and chippy.  
But isn't that what makes it so awesome?  


This little mirror is made from a "pipe clamp" --
at least that's what the description said.
All I know is it makes a great frame for a rustic, industrial mirror.  

Midge

I'm linking this up to Donna's Saturday Nite Special Linky Party #89

Thursday, July 7, 2011

World's Smallest Bathroom: The drain game!

With the electricity in place for my world's smallest bathroom project, next is plumbing. Not only do I need  it in place before I drywall -- but it's pretty important for a bathroom!!

Plumbing has two main components, the water coming in, and waste water (and other things!) going out.

This post will cover the latter and briefly explain some basics of drain lines and what I did with mine.

(I realize that most of you aren't in the market for a project like this, or don't think you'd know how, but maybe this will encourage someone to try something they didn't dare before -- it's easier than you think!)   

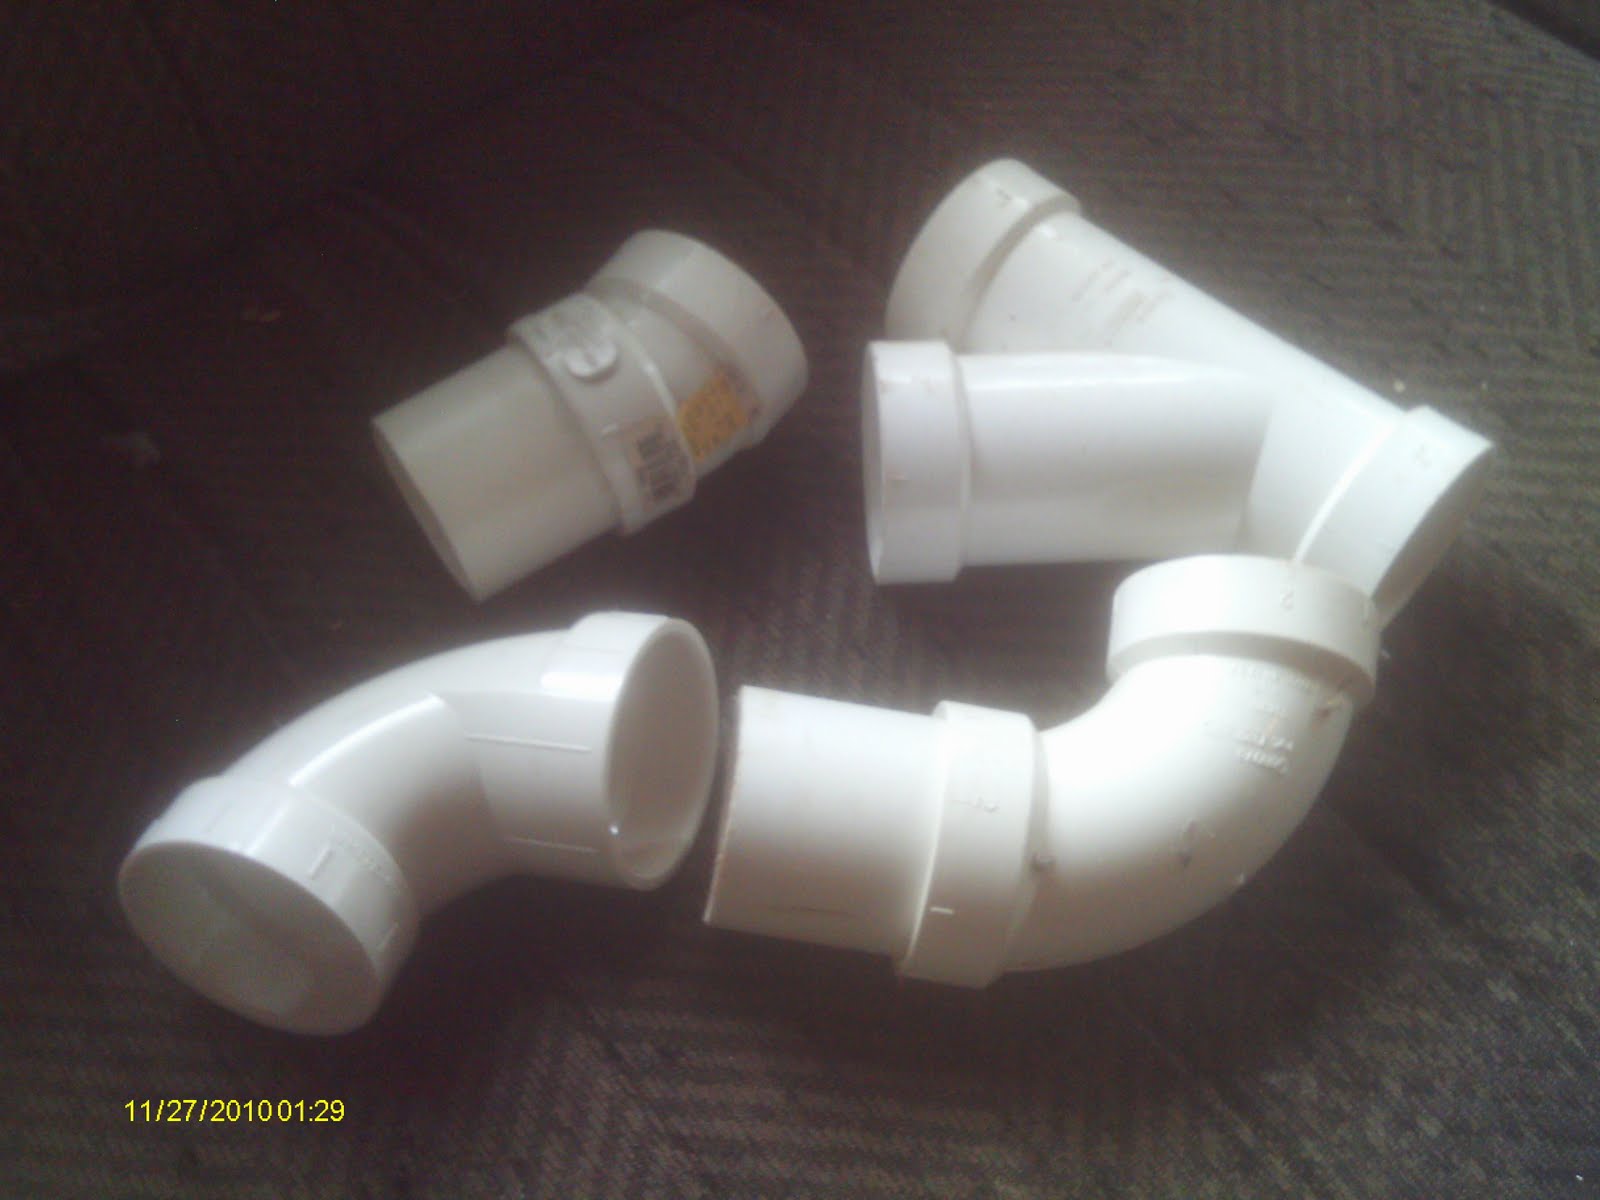
A DIYer can buy drain line made of PVC at their local Lowe's, Home Depot, etc.
The sizes they sell are the main ones used in a drain line system:  3" is required for lines leading off a toilet, 2" is usually for heavier flow waste water (like shower drains, washer), and 1.5" for basic sinks.


I was lucky that my lines would be in the storage room of our basement so I didn't have to worry as much about tucking and "prettiness', but there was already unnecessary goobledy-gook, so I started by removing some extra pipes, to give me a cleaner slate to work from. 


To cut off existing lines it's easiest to use a sawzall!


But once the pipe is down, you can cut it (if you dare reuse some of it!) or new pipes with a chop saw -- very easy and leaves a nice clean cut.  New pipes are sold in specific lengths, usually 10' (or 8?), 5', and 2'. 


\
Obviously, a straight pipe wouldn't do the trick alone.  The drain pipe will need to turn here and there and may need to accommodate incoming lines.  That same store will have bins with many different connecting parts to achieve your specific path.  Paper planning is not enough!  Plan on spending a lot of time in the plumbing aisle playing with the pieces to figure out your angles -- then plan on returning several times!! 


And you'll have to play with the pieces at home too!  Ideally you connect your fixture drains to the closest pipes -- if you can tag along at the tail end of a line and just add on, even better!  But sometimes you have to "cut in" to an existing line.  The main thing is: a drain line has to somewhere drain into another existing line, and (this is a biggie) DRAIN LINES MUST EMPTY INTO THE SAME SIZE OR LARGER, BUT NOT VICA VERSA .  Ex.: sink can lead into toilet line, but toilet can't go into sink line.  YIKES!!  AND EVEN MORE IMPORTANT: THE LINE MUST SLOPE DOWNWARD AWAY FROM THE SOURCE!!  (Gently sloping is fine, and even preferred ((.25"/1')), but some of the connecting pieces may provide a short drop.)   After playing with your pieces, if you think you've got the line how you want it, make sure to mark neighboring pieces so you put it back together exactly the same way.   
   

Your components will need to be permanently connected piece by piece using adhesive made just for these pipes.  The two surfaces to be connected are first "painted" with the PURPLE stuff.  After a minute or two to dry, the adhesive (I use the all purpose variety, available in plumbing dept.) is applied.  This goes on both parts and you need to make sure the contact areas are completely covered.
          
Don't apply the adhesive until you're ready to go, but once you do, get right to work and push and twist to get a nice, square fit -- and make sure it's lined up where you want!  Because the result of this compound is a strong, permanent, melding together of the plastic!


I realize that's a pretty brief overview of the process, but maybe seeing my work will help!  I started at the point I hacked off the unnecessary parts.  That was a 3" pipe.  So (starting from the right in the photo), I addded a piece that connected up to my laundry drain pipe (I had hacked off a hunk of that too).  Then I added a section that had a 3" Tee off of it. 
This is the view from underneath.  This "T" piece started as 3", continued on as a 3" and had a 3" turn off it. You can see it leading up to where the toilet will be.  Beyond that is a 3'in, 3"out, with a 1.5" Tee for the sink.
The 3" Tee line connects to this piece that is located in the bathroom.  Officially called a "closet flange", it is the piece the toilet will rest on and connect to.


And from the 1.5" Tee, the line continued on and eventully made it's way up to the sink area. 


It came up through the floor and juts out to eventually connect to sink drain.  This locale needed a vent, so that pipe continuing upwards is for allowing air to escape through the roof (that's a whole nother explanation!) 

ANYWAY, I don't know if I still have anyone reading this, but drain lines CAN be done DIY style.  It's not really dangerous or hard, but the greatest risk is probably goofing it up and having to do it over -- wasting time and money.  It's a little tricky.
HOWEVER, supply lines (water coming in) are much easier and more forgiving.  So if you do want to give plumbing a try, that might be a better place to start.  (Post on that coming very soon!)

Midge


Thursday, June 30, 2011

World's Smallest Bathroom: Let there be light!

After years of being on hiatus from home remodeling, I've picked up my tool belt again and am trying to complete our home -- starting with the tiny space I had carved out at the back of my small laundry room for a powder room.  I'm going to share as much of my progress as I can:

So I begin with lighting, not only because it will come in handy as I move forward, but also for the sake of practicality and safety.  Because this is what I was starting with:

We had put those wires there so many years ago that I couldn't even remember the thought behind them and whether any were live or not!


So using my handy dandy circuit tester, the red light lighting up when I touched the wires told me each was indeed live.  Yowzers! Holy Electric Powers, Batman!  ZAAPPP!!  With my reluctant, grumbling, computer-missing son -- I mean trusty sidekick -- at the circuit box, the circuits were switched until I found which one was THE one (yup both connections on same circuit).  Then with it off, I unconnected the four wires, turned power back on to determine which of the four wires was the "source" of power.  
  

Armed with this new knowledge, I connected the "source" (I call that IN) to the continuation of power (I call that OUT) and found I had an unnecessary piece of wire -- I kept it there for now in case it comes in handy later for threading wire where I wanted.


Because the current program didn't work for my plan, an L-shaped room with an overhead light on each side, using my ceiling box as a template I drew a circle at my desired locations.  
  

The ceiling plaster was too hard for a utility knife (and I can't find my sawzall....waaah) so I first drilled holes around edge of hole and then whacked away with my hammer.


The threading of wiring and figuring out the flow of the power (think RIVER) was the most time consuming part and is difficult to show in photo form -- I did end up creating a new hole for reaching (post on hole repairing coming soon!) 


But eventually I got it all set in proper order with one switch to turn on both lights (that's what I had wanted all along but could only do two lights/two switches until my husband offered his clever guidance).


With everything firgured out -- and proof it all worked -- it was time to install everything "for real".  This is an OLD ceiling work box, OLD because it's for old, not new, construction.  See the three "wings"?  Those mean I don't need to climb into the (scary, dark, scary, dirty, scary, cramped) attic, instead I simply put the box up into the ceiling hole and turn the three screws until the wings spread out and hold the box in place.


So everything attached and connected has to be undone (power off, of course) and the wires slid through the openings in the box and pulled slightly downward as box goes upward! 


Til you make it all the way up!  I wanted a nice, precise fit so I had to gently tap with a hammer to get it in, and then, thank goodness for those wings (not to be confused with any other wings, girlie or otherwise you hear tell of -- no beautiful music in the background here).  I had labeled my wires so I'd know what's what.  


Now time to reattach everything -- FOR REAL, complete with wire nuts and electrical tape.  This is where it gets tricky for me, not the reattaching, taping part, but the shoving it all into the box and making it fit and not come apart part.  :)


And of course I need to have THE switch to operate the lights.  Too bad after taking this picture I realized that I had done it wrong -- not electrically, but structurally.  That switch box is an OLD box too.  I think I was supposed to mount it into drywall.  Ooops!  Oh, well, easy fix later when I have drywall.  


And so......LET THERE BE LIGHT!!

YAY!!


Midge